- When to plant:
- Spring, Fall, Winter
- Fertilizer:
- Hancock's 16-04-08 Lawn & Pasture Fertilizer
- Seeding rate:
- 2 lbs. per 1,000 sq. ft. or 100 lbs. per acre
- Overseeding rate:
- 1 lb. per 1,000 sq. ft. or 50 lbs. per acre
- Seeding depth:
- 1/4 inch
- Ideal ph:
- 6.0 - 7.0
- Gmo:
- No
- Inoculant needed:
- No
- Coated or raw:
- Coated
- Lifecycle:
- Perennial
- Climate zones:
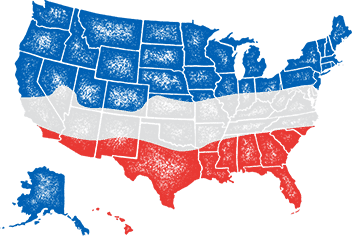
- Cool Season, Transition Zone, Warm Season
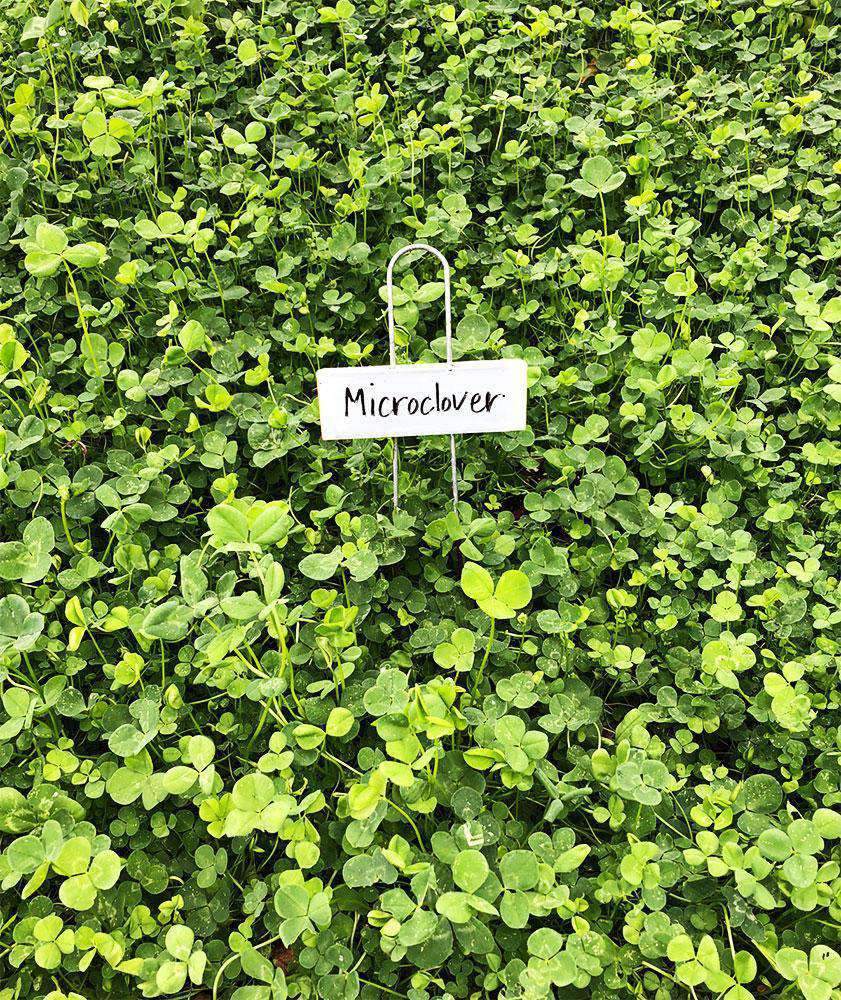
Microclover™ provides all the same advantages of regular clover but has a much smaller leaf size. It features excellent nitrogen-fixing abilities without the use of extensive fertilization, fungicides, pesticides, or mowing. And, of course, it makes for a soft and beautiful turf suitable for high traffic. Microclover™ spreads densely and evenly preventing weed growth and can be planted as a standalone lawn, or overseeded into existing lawn grasses. Adding just 5%-10% of Microclover™ to your existing grass seed mixture or current lawn will result in a much improved turf.
Product Information
- Application or Use: Lawn, Golf Courses, Athletic Fields, Parks, Ground Cover
- Germination Time: 7 - 14 days, under optimal conditions
- Growing Locations: Warm Season, Transition Zone & Cool Season Zone
- Height: 1 - 5 inches, depending on mowing regimens
- Sunlight Requirements: 4 - 6 hours
- Advantages: Extremely cold and shade tolerant while moderately tolerant of drought and wet conditions.
- When to Plant: Recommended planting time in spring is after the last chance of frost when nighttime temperatures are consistently 40+ degrees. Recommended planting time in late summer / early fall is at least 8 weeks prior to first frost.
Characteristics
Microclover™ provides all the same advantages of regular clover but has a much smaller leaf size. It features excellent nitrogen-fixing abilities without the use of extensive fertilization, fungicides, pesticides, or mowing. And, of course, it makes for a soft and beautiful turf suitable for high traffic. Microclover™ can be planted as a standalone lawn, or overseeded into existing lawn grasses.
Microclover™ benefits your existing lawn grasses by providing natural nutrients...truly it's own organic fertilizer! Microclover™ has excellent cold, drought and traffic tolerance. The turf is very dense, very lush, and very beautiful. It can tolerate wet (not to be flooded for long periods of time) and shade conditions, as well as drought.
Many customers enjoy Hancock's Micro Clover as an option for alternative lawns because it has a dark shade of green that is comparable to those found in more traditional lawns. Microclover™ is a variant/selection of common White Clover that has been cultivated to supply a less problematic partnership with traditional lawn grasses. Common White Clover was once a more popular lawn option, however it frequently formed clumps and in turn created troubles for those emphasizing lawn grasses. This, and the advancement of herbicides that would kill off standard White Clover, led to the development of Microclover™, which grows lower and mixes better with lawn grass accordingly. Although it does flower, Hancock's Micro Clover does not create nearly as many blooms as traditional White Clover.
Microclover™ is extremely cold tolerant. It will go dormant slightly in the winter months, depending on location but is very aggressive and will most likely come back under harsh winter conditions. Killing frost or ice may be the exception. Microclover™, in light dormancy, will slow down and lose some vigor causing the color to dull but not completely go away.
Mowing Regimens & Guide
If Microclover™ is not cut, then the leaf size increases, the more it is cut then the smaller the leaf size. When Microclover™ is not mowed at all, the leaf size will be about 1/2 the size of White Dutch Clover. When it is mowed, new leaf heads form within a few days so it continually looks thick and lush. If it isn't mowed, it will get approximately 6 inches tall. If you mow it, it will want to quit growing just slightly taller than the height it was mowed at. For example, if you mow it at a height of 3 inches, it will head back out and quit growing at a height of approximately 4 inches. In other words, you can almost "train" its growing height with infrequent mowings. Microclover™ could present with larger leaves due to lack of density. In the springtime, especially in the first year, the clover can present with larger leaves as it attempts to reproduce as well. If you have areas with larger leaves, we recommend adding more seed to the thin areas to increase the density, then try to keep it between 1 and 4 inches in height. This should greatly improve the size of the leaves by not only adding more plants, but continuing to mow it low to encourage it to spread out which will also boost density. By doing this, the leaves should be smaller as they expect it look.
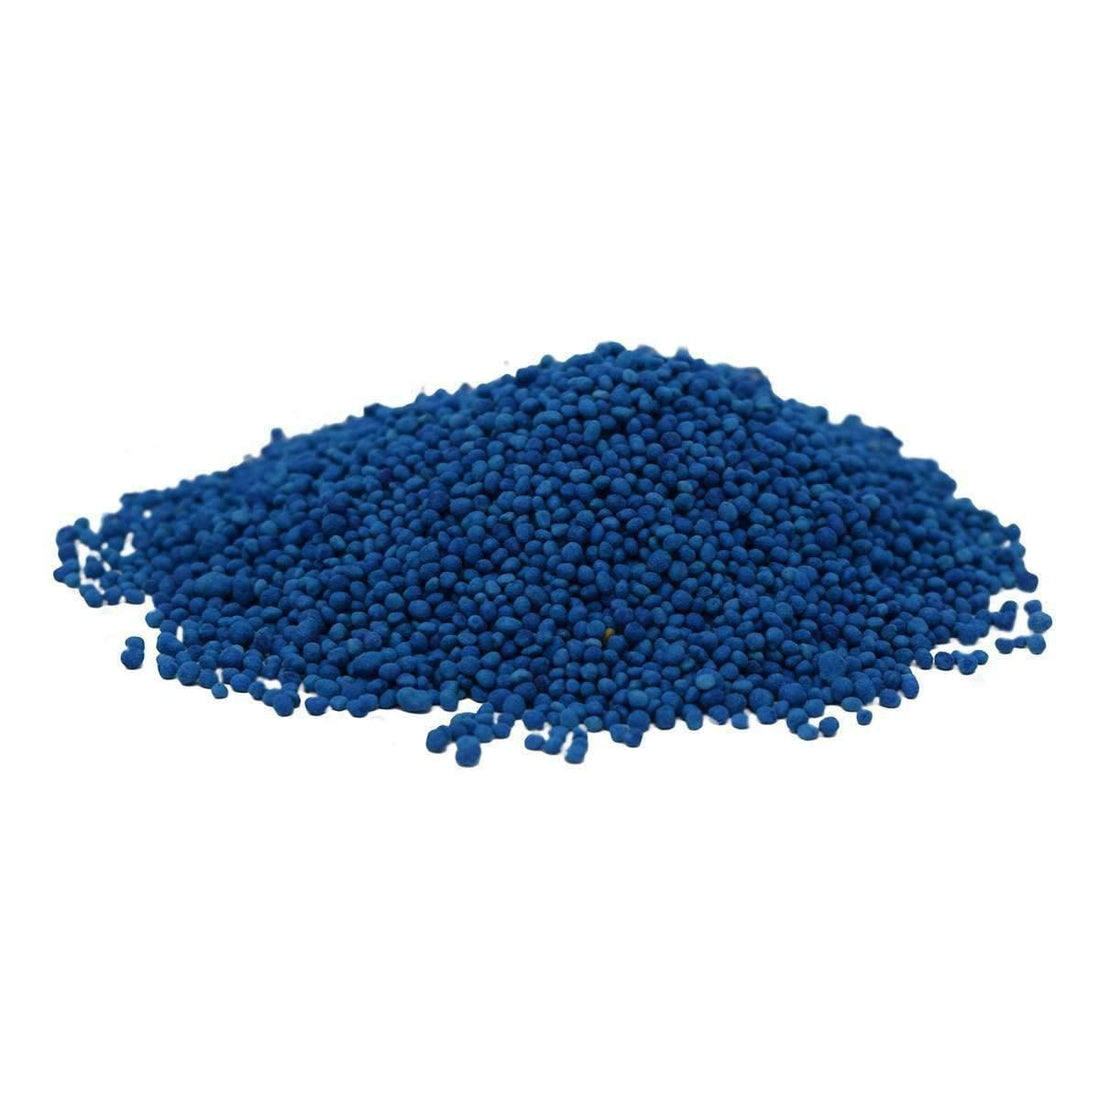
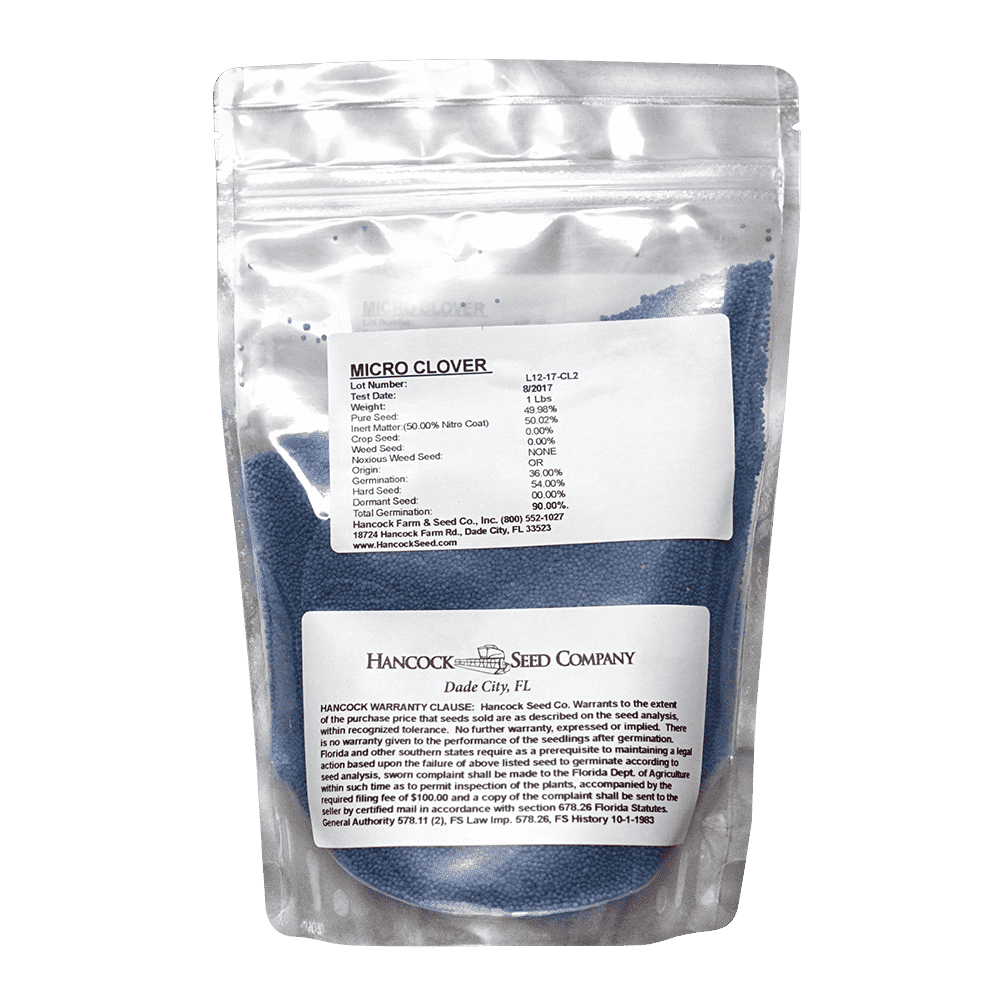
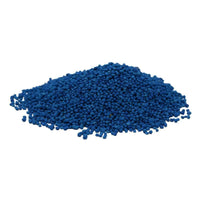
This seed is surrounded in a clay based coating with inoculant, which aids in moisture retention for germination, birds tend not to eat the coated seed, and it is easier to see where it has been spread. In addition, pre-inoculated seed aids in germination and better, overall success. The coating takes up a portion of the bag, which means less seed per pound but you are getting the added benefit of the coating and inoculant. The raw seed is just how it sounds, seed in the purest form - not coated or mixed with anything.
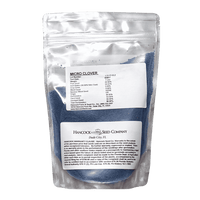
*Product packaging may appear different than what is pictured.
Soil Prep
- When choosing to start a new lawn, remove old vegetation by using a de-thatcher, power rake or tiller to kill the existing vegetation. Rake or drag the area to remove debris and dead grass for a clean area. Ensure the soil is leveled and loosened to allow the seed to have good soil contact once spread on a clean seed bed.
- If you have an area with heavy weed coverage, we recommend starting fresh by killing and removing the existing vegetation. If you choose to use chemicals, herbicides or fertilizers, you must check with the product’s manufacturer prior to planting new seed to ensure the proper waiting period.
- When overseeding an existing area, mow your lawn at the lowest setting and bag the clippings. Rake or drag any areas that have dead thatch or debris.
Seeding
- Seeding Rate: 2 lbs. per 1,000 sq. ft. or 100 lbs. per acre
- Overseeding Rate: 1 lbs. per 1,000 sq. ft. or 50 lbs. per acre
- Recommended planting time in spring is after the last chance of frost when night time temperatures are consistently 40+ degrees. Recommended planting time in late summer / early fall is at least 8 weeks prior to first frost. In the south where snow and freezing temperatures are rare, you may plant all through the winter.
- Spread at the recommended rate based on total area and whether it is bare ground or pre-existing vegetation.
- Spreader Settings: There is not any one setting that applies for all brands of spreaders. We recommend reviewing the seed settings chart that came with your spreader or contact the manufacturer directly. Ensure you are choosing a seed on the list by the manufacturer that closely resembles the seed you are choosing to plant.
- If you have any concerns on what setting you should use, we recommend always starting with the smallest option then adjusting it to match the recommended seeding rate.
Fertilizer
- Grass like all living things need food to survive. Food for grasses is fertilizer. We recommend fertilizing every 3 - 4 months with Hancock's 16-04-08 Lawn & Pasture Fertilizer. Our 16-04-08 Lawn and Pasture Fertilizer is custom blended to provide a slow-releasing, water-activated economical fertilizer. Hancock's 16-04-08 Lawn & Pasture Fertilizer can be applied at a rate of 5 lbs. per 1,000 sq. ft. or 250 lbs. per acre. The most probable cause of a declining lawn or pasture is poor nutrition. If you have any concerns about your soil, we recommend getting your soil tested to determine what nutrients you are low in as well as your pH. The results of the soil testing will give you the best information to amend your soil for the best grass growth.
Watering Schedule
- For best results, water your lawn each morning and evening for 30 minutes based on weather conditions, until the new seedlings have reached the height of 3 - 5 inches for lawns or 8 - 20 inches for pasture.
- Once they have reached that height, water 3 times per week as needed.
- For best results, keep the soil moist while not over-watering the area or creating puddles.
Germination Time
- 7 - 14 days, under optimal conditions
Mowing Requirements
- 1 - 5 inches; depending on mowing regimens
- If Microclover™ is not cut, then the leaf size increases, the more it is cut then the smaller the leaf size. When Microclover™ is not mowed at all, the leaf size will be about 1/2 the size of White Dutch Clover. When it is mowed, new leaf heads form within a few days so it continually looks thick and lush. If it isn't mowed, it will get approximately 6 inches tall. If you mow it, it will want to quit growing just slightly taller than the height it was mowed at. For example, if you mow it at a height of 3 inches, it will head back out and quit growing at a height of approximately 4 inches. In other words, you can almost "train" its growing height with infrequent mowings. Microclover™ could present with larger leaves due to lack of density. In the springtime, especially in the first year, the clover can present with larger leaves as it attempts to reproduce as well. If you have areas with larger leaves, we recommend adding more seed to the thin areas to increase the density, then try to keep it between 1 and 4 inches in height. This should greatly improve the size of the leaves by not only adding more plants, but continuing to mow it low to encourage it to spread out which will also boost density. By doing this, the leaves should be smaller as they expect it look.
For best results, please review our Planting Guide and the specific product description before planting. Each product has recommended planting methods, timing, and seeding rates that are important for successful establishment. Following these guidelines will help ensure optimal performance and stand success.

Seed Quality
Hancock Seed is dedicated to delivering the best seeds possible to our customers. Hancock Seed grows and harvests many of our products, and we acquire the majority of the rest from other family farmers.
All these seeds are processed, packaged and shipped from Hancock Farm. This helps us ensure that our high standards are met. Unlike much of the competition, we refuse to sell you a seed that was not gathered during the last harvest. You will always receive fresh product from Hancock.
Every seed we grow comes with 40 years of experience behind it...you can rest assured that all of our products are cultivated in a method that assures its potential for growth.
Your cart ( 0 )

Microclover™ provides all the same advantages of regular clover but has a much smaller leaf size. It features excellent nitrogen-fixing abilities without the use of extensive fertilization, fungicides, pesticides, or mowing. And, of course, it makes for a soft and beautiful turf suitable for high traffic. Microclover™ spreads densely and evenly preventing weed growth and can be planted as a standalone lawn, or overseeded into existing lawn grasses. Adding just 5%-10% of Microclover™ to your existing grass seed mixture or current lawn will result in a much improved turf.
Product Information
- Application or Use: Lawn, Golf Courses, Athletic Fields, Parks, Ground Cover
- Germination Time: 7 - 14 days, under optimal conditions
- Growing Locations: Warm Season, Transition Zone & Cool Season Zone
- Height: 1 - 5 inches, depending on mowing regimens
- Sunlight Requirements: 4 - 6 hours
- Advantages: Extremely cold and shade tolerant while moderately tolerant of drought and wet conditions.
- When to Plant: Recommended planting time in spring is after the last chance of frost when nighttime temperatures are consistently 40+ degrees. Recommended planting time in late summer / early fall is at least 8 weeks prior to first frost.
Characteristics
Microclover™ provides all the same advantages of regular clover but has a much smaller leaf size. It features excellent nitrogen-fixing abilities without the use of extensive fertilization, fungicides, pesticides, or mowing. And, of course, it makes for a soft and beautiful turf suitable for high traffic. Microclover™ can be planted as a standalone lawn, or overseeded into existing lawn grasses.
Microclover™ benefits your existing lawn grasses by providing natural nutrients...truly it's own organic fertilizer! Microclover™ has excellent cold, drought and traffic tolerance. The turf is very dense, very lush, and very beautiful. It can tolerate wet (not to be flooded for long periods of time) and shade conditions, as well as drought.
Many customers enjoy Hancock's Micro Clover as an option for alternative lawns because it has a dark shade of green that is comparable to those found in more traditional lawns. Microclover™ is a variant/selection of common White Clover that has been cultivated to supply a less problematic partnership with traditional lawn grasses. Common White Clover was once a more popular lawn option, however it frequently formed clumps and in turn created troubles for those emphasizing lawn grasses. This, and the advancement of herbicides that would kill off standard White Clover, led to the development of Microclover™, which grows lower and mixes better with lawn grass accordingly. Although it does flower, Hancock's Micro Clover does not create nearly as many blooms as traditional White Clover.
Microclover™ is extremely cold tolerant. It will go dormant slightly in the winter months, depending on location but is very aggressive and will most likely come back under harsh winter conditions. Killing frost or ice may be the exception. Microclover™, in light dormancy, will slow down and lose some vigor causing the color to dull but not completely go away.
Mowing Regimens & Guide
If Microclover™ is not cut, then the leaf size increases, the more it is cut then the smaller the leaf size. When Microclover™ is not mowed at all, the leaf size will be about 1/2 the size of White Dutch Clover. When it is mowed, new leaf heads form within a few days so it continually looks thick and lush. If it isn't mowed, it will get approximately 6 inches tall. If you mow it, it will want to quit growing just slightly taller than the height it was mowed at. For example, if you mow it at a height of 3 inches, it will head back out and quit growing at a height of approximately 4 inches. In other words, you can almost "train" its growing height with infrequent mowings. Microclover™ could present with larger leaves due to lack of density. In the springtime, especially in the first year, the clover can present with larger leaves as it attempts to reproduce as well. If you have areas with larger leaves, we recommend adding more seed to the thin areas to increase the density, then try to keep it between 1 and 4 inches in height. This should greatly improve the size of the leaves by not only adding more plants, but continuing to mow it low to encourage it to spread out which will also boost density. By doing this, the leaves should be smaller as they expect it look.
This seed is surrounded in a clay based coating with inoculant, which aids in moisture retention for germination, birds tend not to eat the coated seed, and it is easier to see where it has been spread. In addition, pre-inoculated seed aids in germination and better, overall success. The coating takes up a portion of the bag, which means less seed per pound but you are getting the added benefit of the coating and inoculant. The raw seed is just how it sounds, seed in the purest form - not coated or mixed with anything.
*Product packaging may appear different than what is pictured.
Soil Prep
- When choosing to start a new lawn, remove old vegetation by using a de-thatcher, power rake or tiller to kill the existing vegetation. Rake or drag the area to remove debris and dead grass for a clean area. Ensure the soil is leveled and loosened to allow the seed to have good soil contact once spread on a clean seed bed.
- If you have an area with heavy weed coverage, we recommend starting fresh by killing and removing the existing vegetation. If you choose to use chemicals, herbicides or fertilizers, you must check with the product’s manufacturer prior to planting new seed to ensure the proper waiting period.
- When overseeding an existing area, mow your lawn at the lowest setting and bag the clippings. Rake or drag any areas that have dead thatch or debris.
Seeding
- Seeding Rate: 2 lbs. per 1,000 sq. ft. or 100 lbs. per acre
- Overseeding Rate: 1 lbs. per 1,000 sq. ft. or 50 lbs. per acre
- Recommended planting time in spring is after the last chance of frost when night time temperatures are consistently 40+ degrees. Recommended planting time in late summer / early fall is at least 8 weeks prior to first frost. In the south where snow and freezing temperatures are rare, you may plant all through the winter.
- Spread at the recommended rate based on total area and whether it is bare ground or pre-existing vegetation.
- Spreader Settings: There is not any one setting that applies for all brands of spreaders. We recommend reviewing the seed settings chart that came with your spreader or contact the manufacturer directly. Ensure you are choosing a seed on the list by the manufacturer that closely resembles the seed you are choosing to plant.
- If you have any concerns on what setting you should use, we recommend always starting with the smallest option then adjusting it to match the recommended seeding rate.
Fertilizer
- Grass like all living things need food to survive. Food for grasses is fertilizer. We recommend fertilizing every 3 - 4 months with Hancock's 16-04-08 Lawn & Pasture Fertilizer. Our 16-04-08 Lawn and Pasture Fertilizer is custom blended to provide a slow-releasing, water-activated economical fertilizer. Hancock's 16-04-08 Lawn & Pasture Fertilizer can be applied at a rate of 5 lbs. per 1,000 sq. ft. or 250 lbs. per acre. The most probable cause of a declining lawn or pasture is poor nutrition. If you have any concerns about your soil, we recommend getting your soil tested to determine what nutrients you are low in as well as your pH. The results of the soil testing will give you the best information to amend your soil for the best grass growth.
Watering Schedule
- For best results, water your lawn each morning and evening for 30 minutes based on weather conditions, until the new seedlings have reached the height of 3 - 5 inches for lawns or 8 - 20 inches for pasture.
- Once they have reached that height, water 3 times per week as needed.
- For best results, keep the soil moist while not over-watering the area or creating puddles.
Germination Time
- 7 - 14 days, under optimal conditions
Mowing Requirements
- 1 - 5 inches; depending on mowing regimens
- If Microclover™ is not cut, then the leaf size increases, the more it is cut then the smaller the leaf size. When Microclover™ is not mowed at all, the leaf size will be about 1/2 the size of White Dutch Clover. When it is mowed, new leaf heads form within a few days so it continually looks thick and lush. If it isn't mowed, it will get approximately 6 inches tall. If you mow it, it will want to quit growing just slightly taller than the height it was mowed at. For example, if you mow it at a height of 3 inches, it will head back out and quit growing at a height of approximately 4 inches. In other words, you can almost "train" its growing height with infrequent mowings. Microclover™ could present with larger leaves due to lack of density. In the springtime, especially in the first year, the clover can present with larger leaves as it attempts to reproduce as well. If you have areas with larger leaves, we recommend adding more seed to the thin areas to increase the density, then try to keep it between 1 and 4 inches in height. This should greatly improve the size of the leaves by not only adding more plants, but continuing to mow it low to encourage it to spread out which will also boost density. By doing this, the leaves should be smaller as they expect it look.
Instructions
For best results, please review our Planting Guide and the specific product description before planting. Each product has recommended planting methods, timing, and seeding rates that are important for successful establishment. Following these guidelines will help ensure optimal performance and stand success.


